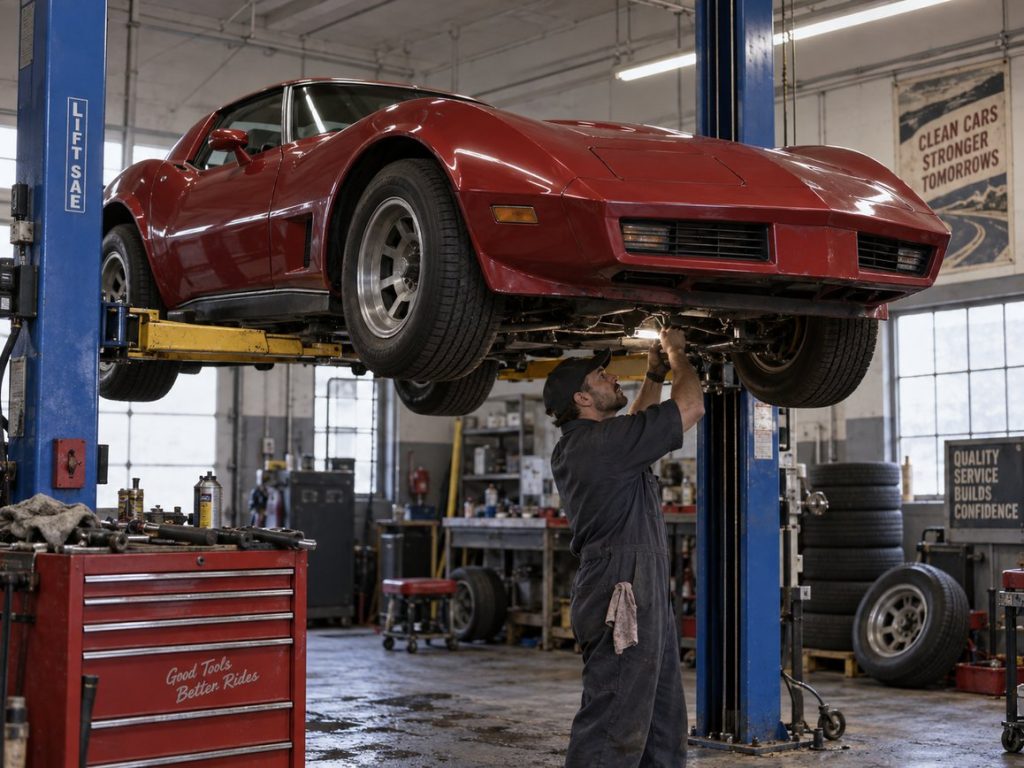
Free if you do it yourself, and it adds thousands of miles to a set of tires. It is also the job that teaches lug nut torque, which matters everywhere else.
- Time: 45 minutes
- Difficulty: beginner-plus — the car comes off the ground
- Shop: $25–$60. Cost to you: nothing
- How often: every 5,000 to 8,000 miles — pair it with your oil change and you will never forget
Front tires wear faster than rears on most cars, because they steer as well as drive. Swapping them around evens that out, so all four wear out together instead of you buying fronts twice as often.
Which way round
| Your car | Pattern |
|---|---|
| Front-wheel drive | Fronts go straight back. Rears cross to the opposite front. |
| Rear-wheel drive or four-wheel drive | Rears go straight forward. Fronts cross to the opposite rear. |
| Directional tires (an arrow on the sidewall) | Front to back on the same side only. Never cross them. |
| Different sizes front and rear | Side to side only, or do not rotate at all. |
Check the sidewall for an arrow or the word “rotation” before you start. Directional tires only work properly turning one way, and fitting one backwards makes it noisy and poor in the wet. Your manual also gives the pattern for your specific car, and it wins over the table above.
Safety
Never get under or beside a car held up by a jack alone. Jack stands, on solid level ground — not gravel, never grass, never a sloped driveway. Chock the wheels staying on the ground.
Lay each removed wheel flat under the sill as a backup while it is off the car. It costs nothing and it is what stands between you and the ground if a stand fails.
What you need
- A floor jack and at least two jack stands — four makes it much easier
- Wheel chocks
- A breaker bar and the right socket for your lug nuts
- A torque wrench. Not optional
- Your car’s lug nut torque figure — look it up and write it down. Most passenger cars are 80 to 100 lb-ft, but check yours
The job
- Park level, engine off, parking brake on, chock the wheels.
- Crack every lug nut loose while all four wheels are still on the ground — a quarter turn each, no more. Trying this in the air just spins the wheel.
- Lift and support. Jack at the manufacturer’s jack point, then lower onto stands at the proper support points. Shove the car firmly — if it rocks, start again. If you only have two stands, do one axle at a time.
- Take the wheels off and lay them flat under the car.
- Look while they are off. This is a free inspection most people never get: brake pad thickness through the caliper, any grease or fluid around the wheel, and how the tread has worn. Both edges worn means chronic under-inflation; one edge only means an alignment problem.
- Move each wheel to its new position using the pattern above.
- Fit each wheel and start every lug nut by hand. All of them, several turns, before any wrench touches them. This is how you avoid cross-threading a stud.
- Snug them in a star pattern — never in a circle. Opposite, opposite, opposite. This pulls the wheel on square.
- Lower the car back to the ground, then torque the lug nuts to the figure, in the same star pattern.
- Set the tire pressures to the door-jamb figure while you are at it. See tire pressure.
- Re-check the torque after about 50 miles. Genuinely do this — nuts can settle after a wheel has been off, and it takes five minutes.
Why torque matters this much
Too loose and a wheel comes off. That is not a figure of speech; it is the reason the re-check exists.
Too tight and you warp the brake rotor — uneven clamping distorts it, and you get a pulsing brake pedal a few hundred miles later that people then blame on cheap rotors. Overtightening also stretches studs, which eventually snap.
This is exactly why tire shops that hammer lug nuts on with an impact gun have a bad reputation, and why a $35 torque wrench is one of the better purchases in the kit.
The mistakes that catch people
- Loosening the nuts after lifting. Do it on the ground.
- Tightening in a circle instead of a star.
- Torquing while the wheel is in the air. Lower it first.
- Crossing directional tires. Check the sidewall arrow.
- Skipping the 50-mile re-check.
Information only, not professional advice, and no substitute for your vehicle’s service manual. Work on your own vehicle is at your own risk. See the disclaimer.